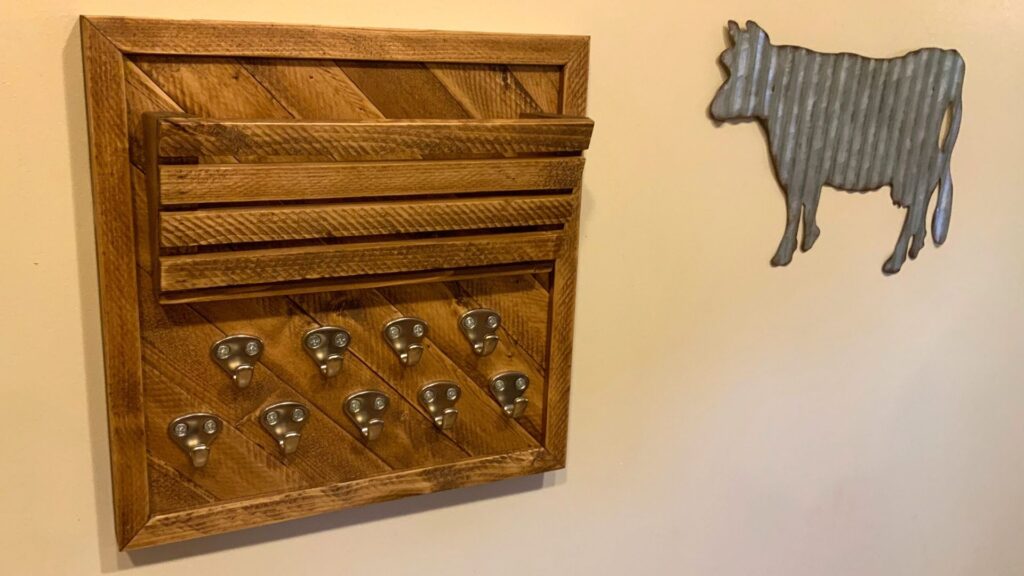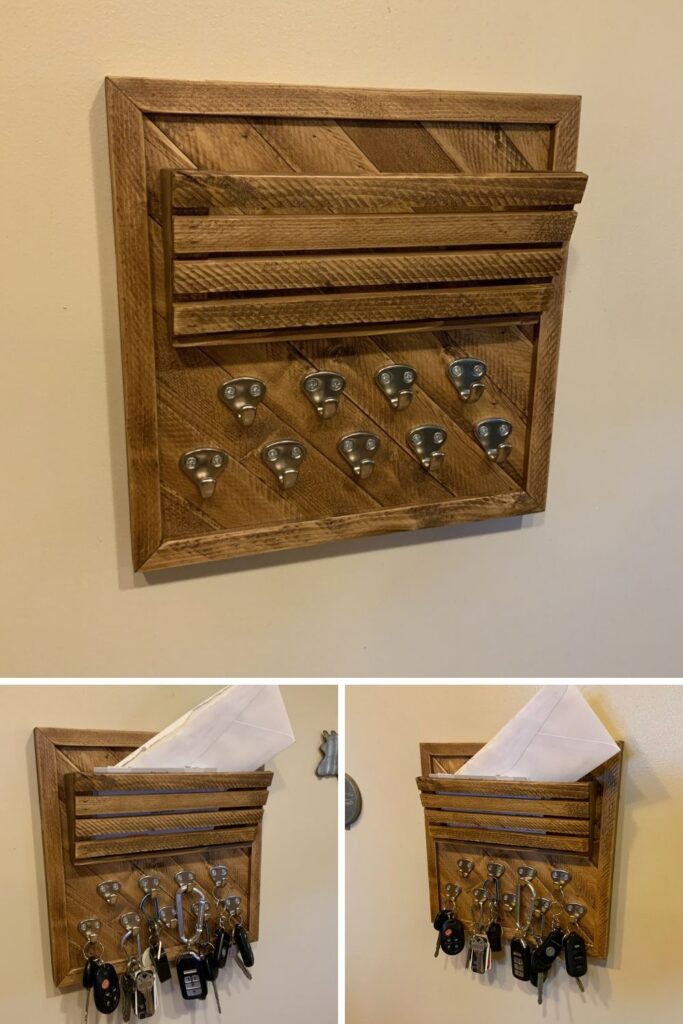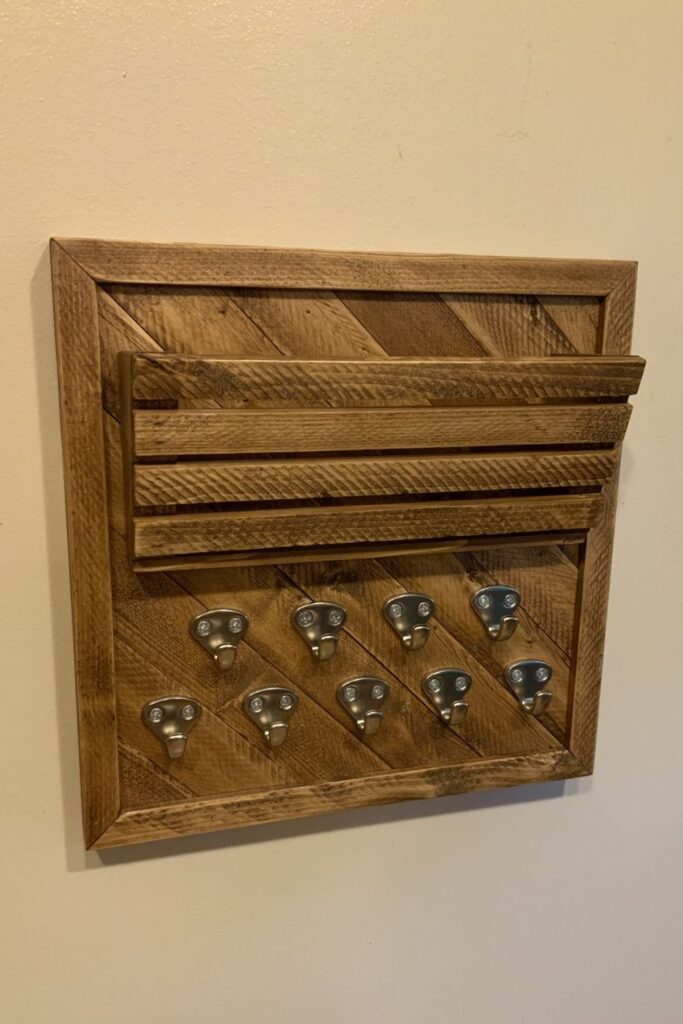
Do you need a better place to put your keys and your mail? Then build your own DIY key and mail holder. It’s a very simply woodworking project that you can make with scrap material and basic tools. This entryway key holder can be built to whatever size you want using whatever hooks you want. It’s a great scrap wood project.
If you are like us, with 3 kids entering the teenage years, you likely have a lot more keys than you used to. That little key holder you’ve used for years no longer has enough hooks to effectively hold your keys.
So make a new one. And make it the size you need with as many hooks as you want. In our case, we also added a mail slot so we had a place to put outgoing mail. Now, when we grab our keys, we see that there is mail and are reminded to take it out to the mailbox.
You can watch the video below, and while you are at it, considering subscribing to my YouTube channel.
Watch the Build Video
Entryway Key Holder Materials
There are really only a few items you need in order to make your own entryway key holder. For many, you may already have what you need in your garage.
- A few pieces of lath (or rip pieces 1/4 inch strips from a standard 2×4)
- Small hooks that will work well for keys
- A scrap piece of 1/2 to 3/4 inch plywood (will be hidden so quality doesn’t matter)
- Small pieces of scrap wood for the mail slot ends (same species as lath)
- Paint or stain and clear coat (Minwax spray polyurethane works well)
- Glue (Titebond is my preference)
- Some small brad nails and a couple screws
If you have to buy lath, just know that it comes in a large bundle and you’ll really only need a few pieces. However, there are many easy projects you can make with them, including these front porch pumpkin decorations.
Tools I Used for the Entryway Key Holder
In my case, I used primarily my Ridgid table saw, my Bostitch brad nailer, and my pin nailer.
If you don’t have a table saw, consider finding a friend with one who can help you out. If you don’t have a brad or pin nailer, you can do this the old fashion way with a hammer and small finish nails.
Good luck building! Be sure to watch the video for full details.


