If you ever use a dado blade on your table saw or have trouble with chip out when using your regular blade, you might need to build your own zero clearance insert or dado insert. But don’t worry, it’s really easy to do.
What is a dado insert?
Dado blades are wider than a standard blade and, depending on the width you need for your project, are too wide for the standard throat insert on your table saw. (I use my dado often for projects like building cabinet doors.) So in order to use a dado blade, you will need to build or buy a special insert.
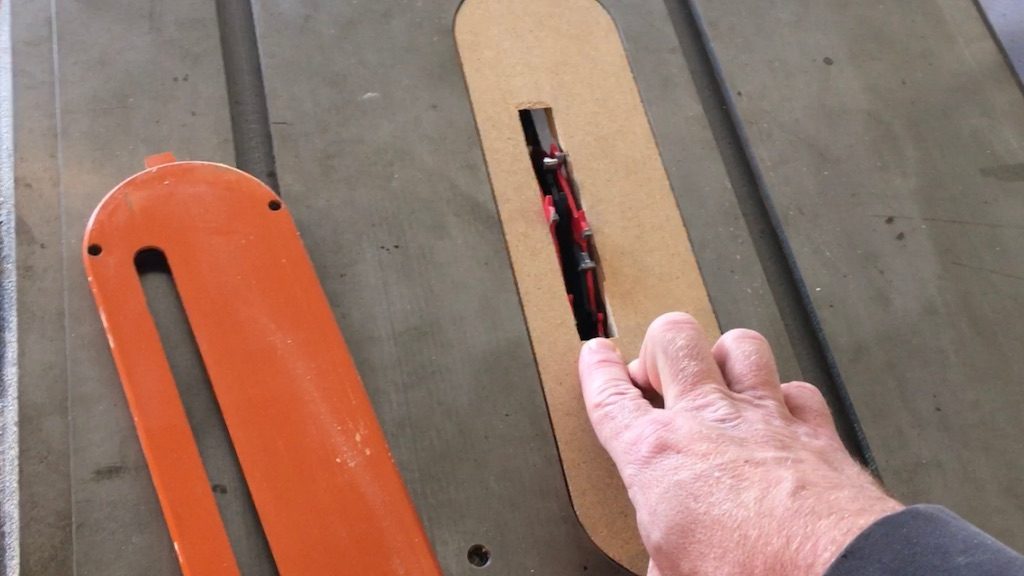
These inserts are made of material that you can machine with your saw. I typically use MDF. They are cut to fit the size of your stock insert, but because they don’t come with a pre-cut opening for the blade, you must make your own opening using the actual blade you wish to use it with.
You do this by creating the insert, lowering your blade all the way down, installing the blank insert, then turn on the saw and slowly raise the blade through the material to create an opening that is the exact width of your blade. In the case of dados, you may wish to make a different insert for various dado widths.
What is a zero clearance insert?
A zero clearance insert is essentially the same as a dado insert, but made for your standard table saw blade. A zero clearance insert insures that the material you are working with is supported right up to the point of contact with the blade on both sides of the cut.
One of the main reasons to use a zero clearance insert is to prevent chip out on the down side of the cut, especially when working with veneer plywood. By supporting the material all the way to the point of contact with the blade, the veneer has support underneath it even when passing through the down side of the cut, thus preventing the blade from pulling the veneer away from the substrate and causing chip out. But it’s not just veneer that can chip out, any wood can and a zero clearance insert can prevent it from happening.
A zero clearance insert is made in the same way a dado insert is made. You simply cut a piece of stable material (like MDF) to the size and thickness of your stock insert, install it in your machine, and slowly raise the blade through the insert.
Note, however, that if you need to angle your blade at something other than 90 degrees, you will likely need to create a new insert (or go back to the stock insert provided with your machine).
Can I simply buy an insert?
Yes, you can find off the shelf zero clearance and dado inserts to fit most table saws. Here are table saw inserts available online. Just be sure to get one that will fit your machine.
But why not build your own? It’s cheaper and very easy to do.
How to build a zero clearance insert.
This short video will talk you through how you can make your own zero clearance or dado insert for your table saw.
So grab yourself a small sheet of 1/2 inch MDF and give it a shot!
